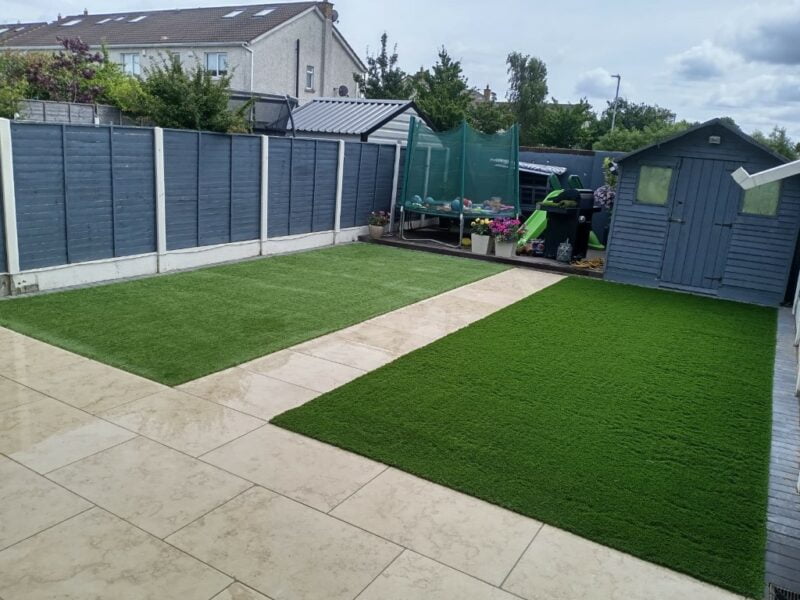
The building or creation of any patio starts with designing the overall look and appearance of the patio. You need to consider not just the overall finished look of the patio but also the functionality of the patio and the yearly upkeep of the patio.
Depending on the choices, you can have a light maintenance patio with once a year wash down being more than sufficient or a patio that will require a good brush down and wash down twice a year.

The first choice for your patio is how much maintenance you are prepared to provide to the area over a year. A natural stone patio that is jointed using a resin grout will require much less maintenance than a concrete slab patio, which has been grouted with a mortar joint.
The second choice is contrast. If you want the patio to stand out against the house and garden, we recommend contrasting colours to the house’s brickwork. For example, if the brickwork on the house is terracotta or red, we would recommend a dark grey, charcoal or buff colour to give contrast.
If you want the patio to blend in, multi-coloured slabbing such as autumn mixes or yellow limestone will be blend in beautifully or single tone colours like brown or brindle coloured slabbing.
The last important step is functionality for the patio area. If you have kids, we recommend keeping steps longer than normal and ensuring that if it’s a retained patio area the drop is not large to prevent any accidents at a later stage.
If you like to wheelbarrow around in the garden or do not like steps, we recommend ramps that can be multi-tiered in higher areas to allow an easy way to get up and down on them. If you are opting for ramps, we recommend a limestone or a riven style slab as it will provide texture for grip.
Materials Needed:
- Type 1 Base Foundation
- Whacker Plate
- Membrane Weed Block
- Cement
- Sand
- Slabs
- Consaw With Diamond Blade
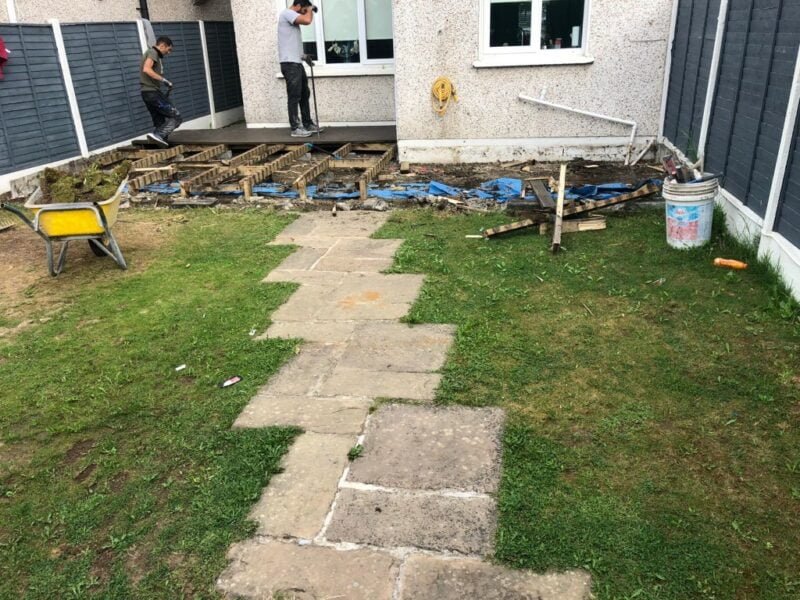
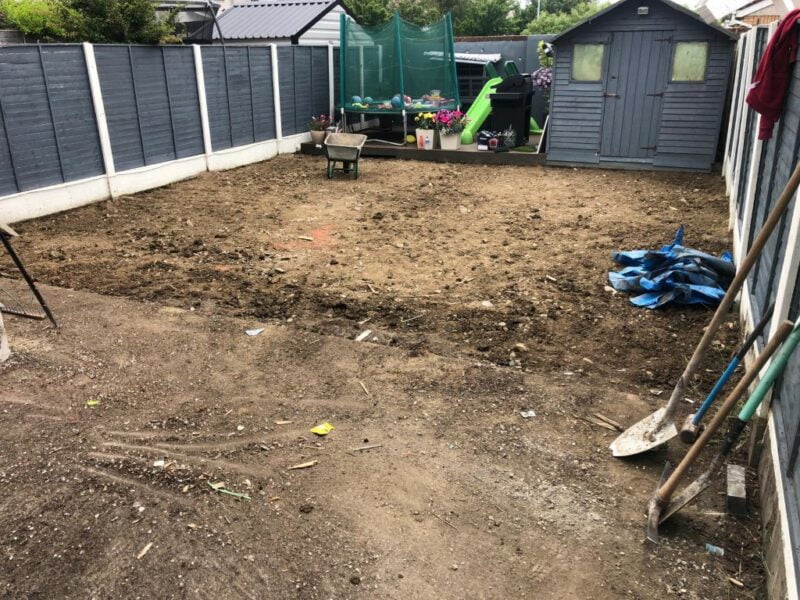
At this stage, begin excavation of the patio area by removing and disposing of the old patio area. This includes the excavation from extending the patio area if that is part of the work.

Excavation depth should be a minimum of 7 inches to allow a new semi-permeable base installation to help with surface water and for french gravel drains if you are having them installed. For larger amounts of water, we recommend Aco channel drains to drain the surface water as it can be piped away safely.
The base foundation is installed and compacted at this stage using a whacker plate to make sure it is locked solid in place. Weed block and any piping should also be laid in at this stage as well so it can be buried into the base foundation safely.
Any steps, new recessed covers and other features like walling are always built at this stage before any surfacing work is done.
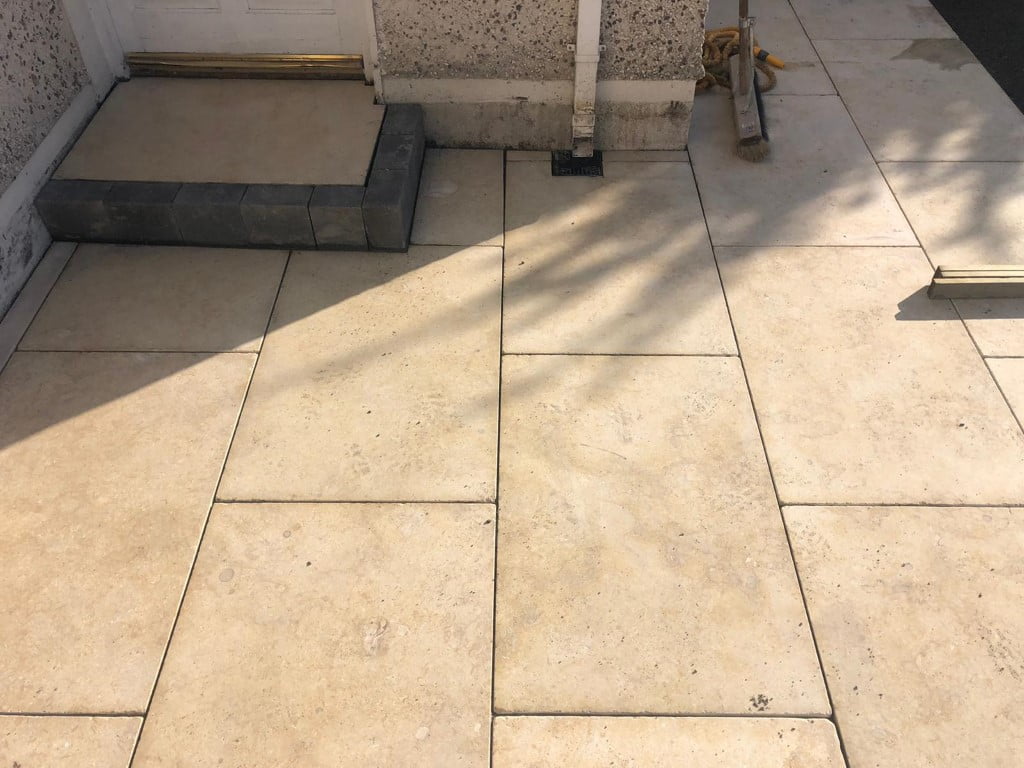
The mortar bed is laid down and the slabbing is laid on top of the mortar bed. For porcelain and some types of limestone, it will require further help with adhesion by using a slurry primer which we will highlight in any estimated work we do for you.

Once the slabbing has been using a string line for cross levels, grout the slabbing to lock it in place. If you have opted for a mortar joint, we recommend a birds beak especially on natural stone but we do recommend to all our customers to go with the resin grout finish as it’s more durable over the long term and less prone to cracking.
You should always clean off the patio and work area once the work has been completed with all excess materials and rubbish removed. With grout, the sooner its cleaned off, the easier it is.
Would you like a quote for our own patio? Why not call Abel Driveways LTD on 01483 342767 or visit our patio services to learn more about the types of patios we can lay for you.
